
How to Stop Mold Growing on Walls?
<p>To stop mold growing on walls, you need to first remove any existing mold and then address the moisture source that caused it. This two-step approach is vital for preventing its return. Without fixing the water problem, mold will likely come back.</p>
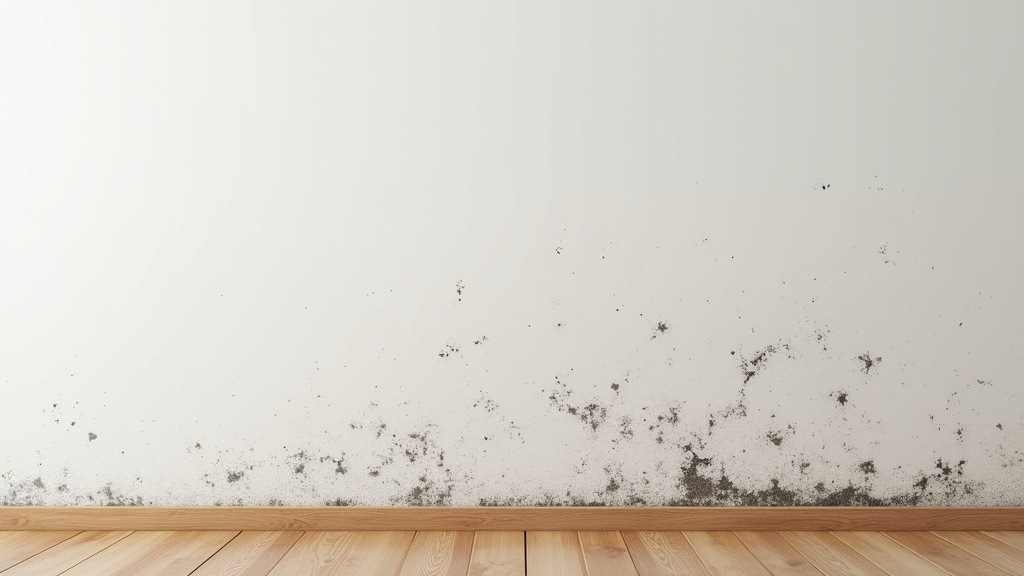
<p>Mold loves damp, dark places, and your walls can be a perfect home for it. It’s not just ugly; mold can also cause health problems and damage your home’s structure. Getting rid of it quickly and preventing new growth is a top priority for any homeowner.</p>
<p>TL;DR:</p>
<ul>
<li>Remove mold safely.</li>
<li>Find and fix the moisture source.</li>
<li>Improve ventilation in damp areas.</li>
<li>Consider a dehumidifier.</li>
<li>Clean affected areas with mold-killing solutions.</li>
</ul>
<p>Ready to tackle that unwelcome fuzz? Let’s walk through exactly how to stop mold growing on your walls, step by step, so you can enjoy a cleaner, healthier home.</p>
Tackling Mold Growth on Your Walls
Stopping mold growth on your walls starts with understanding its favorite hiding spots and then eliminating it safely. Let’s break down the essential steps to get your home mold-free.
Prioritizing Safety When Dealing with Mold
Before you even think about scrubbing, your safety is paramount. Mold spores can irritate your lungs and skin. Therefore, gearing up properly is a non-negotiable step.
Essential Personal Protective Equipment (PPE)
Always protect yourself. We found that a few simple items make a big difference in preventing exposure to mold spores.
- N95 Respirator Mask: This mask filters out small particles, including mold spores. Don’t use a regular dust mask; it won’t offer enough protection.
- Gloves: Wear rubber gloves to protect your hands from mold and cleaning solutions.
- Goggles: Eye protection prevents spores and cleaning chemicals from splashing into your eyes.
- Long Sleeves and Pants: Cover your skin to prevent contact with mold and to avoid skin irritation.
If the moldy area is larger than about 10 square feet, or if you have respiratory issues, you might consider calling a professional (Environmental Protection Agency).
The First Step: Removing Existing Mold
Once you’re suited up, it’s time to get rid of the mold itself. This isn’t just about making your walls look clean; it’s about eliminating the spores that can continue to spread.
Gather Your Cleaning Arsenal
You’ll need a few common household items. No need for harsh, expensive chemicals right away. We found simple solutions often do the trick.
- Spray Bottle: For applying your cleaning solution.
- Stiff Brush or Sponge: To scrub away the mold.
- Buckets: Two buckets – one for clean solution, one for rinsing.
- Clean Cloths or Paper Towels: For drying and wiping.
- Plastic Sheeting and Tape: To protect nearby areas if needed.
Mixing Effective Cleaning Solutions
What’s the best cleaner for mold on walls? It depends on the surface. We’ve seen homeowners have great success with these options:
For non-porous surfaces like painted walls, tiles, or glass, a simple bleach solution can be effective. Mix one cup of household bleach with one gallon of water. Always ventilate the area well when using bleach.
For porous surfaces like drywall, or if you prefer a non-bleach option, white vinegar is a good choice. Use undiluted white vinegar in a spray bottle. It’s a natural fungicide and safe for many surfaces.
Another option is hydrogen peroxide. A 3% solution can be sprayed directly onto mold. Let it sit for 10 minutes before scrubbing.
Always test your chosen solution on an inconspicuous spot first. This helps ensure it won’t discolor or damage your wall.
The Mold Removal Process
Ready to tackle it? Start by dampening the moldy area with your chosen solution. Don’t just spray and wipe; let it soak for a few minutes. This allows the solution to penetrate and kill the mold spores.
Next, scrub the area with your stiff brush or sponge. Use firm, circular motions. You should see the mold visibly lifting from the surface.
After scrubbing, wipe the area clean with a damp cloth. Then, dry the surface thoroughly. Leaving moisture behind only invites the mold back.
Dispose of all cleaning materials, like sponges and paper towels, in a sealed plastic bag. This prevents spores from spreading throughout your home.
Identifying and Fixing the Moisture Source
Removing the mold is only half the battle. If you don’t address why it grew in the first place, it will return. Think of mold as a symptom, not the disease itself. Moisture is the disease.
Common Causes of Wall Moisture
Where is the water coming from? We’ve found several usual suspects:
- Plumbing Leaks: Even a tiny drip inside a wall can create enough moisture for mold. Check pipes, especially those near bathrooms or kitchens.
- Roof Leaks: Water can seep in from damaged shingles, flashing, or gutters, running down inside walls.
- Foundation Issues: Cracks in the foundation can allow groundwater to enter your basement or crawl space, leading to mold on lower walls.
- High Humidity: Excessive humidity, often seen in bathrooms, kitchens, and basements, condenses on cool surfaces, creating a damp environment.
- Poor Ventilation: Lack of air circulation in damp areas traps moisture, providing an ideal breeding ground for mold.
- Condensation: Cold walls in winter, especially behind furniture, can accumulate condensation from warm, humid indoor air.
How to Pinpoint the Problem
Sometimes the source is obvious, like a leaky pipe. Other times, it’s more subtle. Here’s a quick checklist to help you investigate:
| Potential Source | What to Look For | Action |
|---|---|---|
| Plumbing Leaks | Dripping sounds, water stains, higher water bill. | Check visible pipes, call a plumber for hidden leaks. |
| Roof Leaks | Stains on ceilings, attic mold, missing shingles. | Inspect your roof, repair damaged areas. |
| Foundation | Cracks in basement walls, water puddles. | Seal cracks, improve exterior drainage. |
| High Humidity | Fogged windows, musty smell, sweating pipes. | Use a hygrometer to measure humidity, dehumidifier. |
| Poor Ventilation | Mold in bathrooms/kitchens, stuffy air. | Install/use exhaust fans, open windows. |
Once you’ve identified the source, fix it immediately. This is the most crucial step in preventing mold’s return.
Preventative Measures: Keeping Mold Away for Good
After cleaning and fixing the moisture source, your goal is to make your walls as unappealing to mold as possible. This involves ongoing maintenance and smart home habits.
Managing Humidity Levels
Mold thrives in humidity above 60%. Aim for indoor humidity between 30% and 50% (CDC). You can measure this with a simple hygrometer, widely available at hardware stores.
A dehumidifier is a great tool, especially in basements, crawl spaces, or damp rooms. Run it regularly to pull excess moisture from the air. Empty the water reservoir often.
Improving Air Circulation and Ventilation
Stagnant air allows moisture to settle. Good airflow is a mold deterrent. Make sure air can move freely around your home.
Use exhaust fans in bathrooms and kitchens every time you shower or cook. Leave them on for at least 15-20 minutes afterward. This pulls moist air out of your home.
Open windows and doors when the weather permits. Fresh air exchange helps dry out your home naturally.
Arrange furniture a few inches away from walls, especially exterior walls. This allows air to circulate and prevents condensation buildup behind items.
Regular Cleaning and Maintenance
A little bit of consistent effort goes a long way. Make these part of your routine:
- Wipe Down Wet Surfaces: After a shower, quickly wipe down shower walls and tiles.
- Check for Leaks: Periodically inspect pipes, roofs, and foundations for any signs of water intrusion.
- Clean Gutters: Keep gutters free of debris to ensure proper drainage away from your home’s foundation.
- Address Spills Promptly: Don’t let water sit on surfaces for long. Clean up spills and dry affected areas quickly.
- Consider Mold-Resistant Products: When renovating, look for mold-resistant drywall or paint, especially in high-moisture areas.
Mold Prevention Checklist
Here’s a quick reminder of key actions to keep mold from growing on your walls:
- Keep indoor humidity below 60%.
- Use exhaust fans in bathrooms and kitchens.
- Fix any water leaks immediately.
- Ensure proper ventilation throughout your home.
- Clean up spills and damp areas quickly.
- Move furniture slightly away from exterior walls.
By following these steps, you create an environment where mold simply can’t thrive. You’ll enjoy cleaner, healthier walls and a more comfortable home.
Conclusion
Stopping mold on your walls is a two-part process: thorough removal and diligent moisture control. We’ve walked through how to safely clean up existing mold, identify its source, and implement preventative measures. Remember, mold loves dampness, so making your home inhospitable to moisture is your best defense.
By taking these steps, you’re not just clearing unsightly spots; you’re creating a healthier, safer environment for everyone. Keep up with good ventilation and quick fixes for leaks. Your consistent effort will ensure your walls remain clean and mold-free for the long haul.
Frequently Asked Questions
Is it always necessary to remove moldy drywall?
Not always. If the mold growth is minor and confined to the surface, you can often clean and treat it. However, if mold has penetrated deep into the drywall, or if the area is large (over 10 square feet), replacing the drywall is generally recommended to ensure all spores are removed.
Can painting over mold kill it?
No, painting over mold does not kill it. Mold will continue to grow beneath the paint layer, eventually reappearing. It’s crucial to thoroughly clean and remove all mold before applying any primer or paint to the affected area.
How can I tell if mold has spread inside my walls?
Signs of hidden mold include a strong, musty odor, unexplained health symptoms (like allergies or asthma flair-ups), or bubbling/peeling paint on walls. Sometimes, discoloration on the wall can indicate mold growth behind the surface. If you suspect hidden mold, further investigation, possibly by a professional, is wise.
What is the best long-term solution for mold in a damp basement?
For a damp basement, the best long-term solutions often involve a combination of strategies. This includes fixing any foundation cracks or leaks, installing a reliable dehumidifier, improving ventilation, and potentially applying waterproof coatings to walls. Addressing external drainage around your home’s foundation is also key.
Are there plants that help reduce humidity and prevent mold?
While some plants can absorb a small amount of airborne moisture, they are not a substitute for proper ventilation or a dehumidifier. Plants alone cannot significantly reduce humidity levels enough to prevent mold growth, especially in consistently damp areas. Focus on mechanical solutions for effective moisture control.
