
How to Dehumidify a Camper?
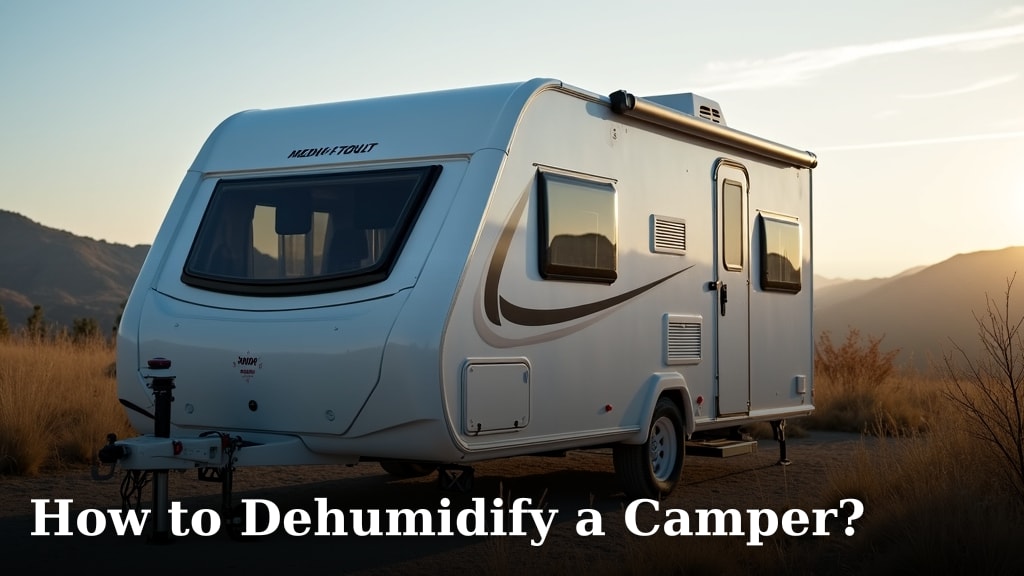
The easiest way to dehumidify a camper is to use a combination of ventilation and moisture-absorbing products. You can also use portable dehumidifiers for more robust moisture control. Keeping your RV dry prevents mold and protects your belongings.
A damp camper can quickly become a breeding ground for mold and mildew. This can lead to an unpleasant odor and even health problems. Addressing moisture issues helps maintain your RV’s condition and your travel comfort. Good airflow and moisture management are key.
- Open windows and vents regularly.
- Use moisture absorbers like DampRid.
- Consider a portable dehumidifier for heavy moisture.
- Check for leaks and repair them promptly.
- Proper insulation can also help.
Let’s walk through exactly how to tackle excess moisture in your camper, step by step.
Keeping Your Camper Dry: Simple Steps to Control Humidity
Dealing with humidity in your RV is like wrestling a damp towel. It’s a common problem, especially during certain seasons or if you’re parked in a humid climate. Excess moisture can damage your camper’s interior and create an uncomfortable living space. Fortunately, there are straightforward ways to manage it. We’ll walk you through the best methods to dehumidify your camper effectively.
Understanding Camper Humidity: Where Does It Come From?
Before we tackle the solutions, it helps to know where that moisture is coming from. Think of your camper like a sealed box. Any water vapor you introduce tends to stay inside. Common culprits include cooking, showering, breathing, and even drying clothes. If you have any leaks, that’s another major source of unwanted dampness.
The Science of “Stuffiness”
Your camper’s interior is often made of materials that can hold onto moisture. Wood, fabrics, and even some plastics can absorb water vapor from the air. When this happens, it can lead to a musty smell and can feel generally clammy. Humidity is measured in relative humidity (RH). For comfortable living and to prevent mold, RV experts suggest keeping your RH below 60%, ideally between 30% and 50% (RVIA). High humidity can make it feel hotter than it is and can degrade materials over time.
Common Moisture Sources
- Cooking: Boiling water releases a lot of steam.
- Showering: Even with a fan, some moisture escapes.
- Breathing: Each person exhales water vapor.
- Drying clothes: Wet items add significant moisture.
- Leaks: Roof, window, and wall leaks are major problems.
- Ground moisture: If parked on wet ground, moisture can wick up.
Ventilation: Your First Line of Defense
The simplest way to combat humidity is through good old-fashioned airflow. Opening up your camper allows moist air to escape and drier outside air to enter. This is especially important after activities that create steam.
Strategic Airflow Management
Don’t just open a window and forget it. Think about how air moves. Cross-ventilation is your friend. Opening windows on opposite sides of your camper can create a nice breeze. Also, consider using your RV’s fans. Roof vents with fans are incredibly effective at pulling moist air out.
Using Roof Vents and Fans
Your roof vents are designed to expel air. If yours has a fan, use it! Running the fan on exhaust mode, especially after cooking or showering, can make a huge difference. It actively pulls the humid air out of your camper. Many RVers find that running the fan at a low setting continuously can help maintain good air quality.
Maximizing Window Ventilation
When weather permits, open up your windows. Even cracking them a bit can help. If you have awnings, extending them can allow you to keep windows open even if it’s lightly raining. This constant exchange of air prevents humidity from building up. We found that opening windows for just 15-30 minutes each day can significantly reduce indoor moisture levels.
When Ventilation Isn’t Enough
Sometimes, opening windows isn’t feasible. Maybe it’s raining, too cold, or the outside air is already very humid. In these situations, you’ll need other tools to help manage moisture.
Moisture Absorbers: Passive Powerhouses
These products are fantastic for small spaces and passive moisture control. They work by attracting and holding water vapor from the air. They require no electricity and are relatively inexpensive.
How They Work
Most common moisture absorbers use chemicals like calcium chloride. This substance is highly hygroscopic, meaning it readily absorbs water. As it pulls moisture from the air, it collects in a reservoir, often turning into a gel or liquid. This keeps the water contained and out of your camper’s air.
Popular Options and Placement
You’ve likely seen products like DampRid. They come in various forms: hanging bags, tubs, and even disposable canisters. For your camper, consider placing them in areas where moisture tends to linger. The bathroom, under sinks, in closets, and even near sleeping areas are good spots. A hanging bag in a closet can work wonders. A small tub under the galley sink is also effective.
Placement is Key
Don’t just toss one in the middle of the floor. Think about air circulation. Place absorbers where air can easily reach them. In cabinets, leave a small gap between items. If using a tub, place it on a stable surface where it won’t be knocked over. Many experts recommend at least two or three medium-sized absorbers for a standard RV (RV Safety Publications).
Maintenance of Absorbers
These absorbers have a lifespan. Once the product is depleted or the reservoir is full, you need to replace or empty them. Disposable containers can usually be thrown away. Those with refillable containers can be emptied down a drain and refilled with new product. Check them regularly, perhaps once a week, to see if they need attention.
Portable Dehumidifiers: Active Moisture Removal
For serious humidity problems, or if you live in your RV full-time in a humid climate, a portable dehumidifier is the most effective solution. These electric appliances actively pull moisture from the air. For serious humidity problems, consider a portable dehumidifier; our guide reviews the best mini options.
Choosing the Right Size for Your RV
Dehumidifiers are rated by how many pints of water they can remove from the air per day. For a camper, you don’t need a massive home unit. A small to medium-sized unit, typically 15-30 pints per day, is usually sufficient. Consider the square footage of your RV and how damp it gets. If you’re unsure, err on the side of a slightly larger unit.
Key Features to Look For
When shopping, look for features that make RV use easier. Automatic shut-off is essential so it doesn’t overflow. A water collection tank with an easy-to-empty design is a plus. Some units have a continuous drain option, which allows you to hook up a hose and drain the water directly into a grey tank or outside. An energy-efficient model is also a good idea, as RV power can be limited.
Operating Your Dehumidifier
Using a portable dehumidifier is straightforward. Place it on a level surface, ideally in a central location or where the moisture is most concentrated. Plug it into a reliable power source. Close windows and doors to maximize its effectiveness. Let it run. You’ll be amazed at how much water it collects.
Placement and Drainage Strategies
Think about where you’ll put it. It shouldn’t block walkways. Consider placing it in the main living area or bedroom. If you use the continuous drain feature, ensure the hose has a downward slope to the drain point. This prevents water from backing up. Some RVers mount small dehumidifiers under cabinets or in dedicated storage areas.
Power Considerations
Portable dehumidifiers use electricity. This is something to consider if you primarily camp without hookups. A smaller unit might draw around 300-500 watts. You’ll need to ensure your generator or battery system can handle this load. Running it while plugged into shore power or a robust generator is ideal. Many users run their dehumidifier during the day and empty the tank before bed.
Preventative Measures: Stopping Moisture Before It Starts
The best approach to dehumidifying is preventing moisture buildup in the first place. This involves regular checks and mindful habits.
Regular Inspections for Leaks
This is non-negotiable. Periodically inspect your RV’s seals, roof, windows, and doors for any signs of leaks. Even a small drip can lead to significant moisture problems over time. Address any issues immediately. The CDC notes that prompt repair of water damage is critical in preventing mold growth.
Proper Insulation and Sealing
Good insulation helps regulate your RV’s interior temperature. This can reduce condensation, especially on windows and metal surfaces. Ensuring your RV is well-sealed prevents outside air (and moisture) from entering unintentionally.
Everyday Habits for a Drier Camper
Be conscious of moisture-producing activities. Use exhaust fans when cooking and showering. If possible, dry clothes outside. Wipe down any condensation you see on windows or walls. Even small steps make a big difference in maintaining a dry, comfortable living space.
Checklist for a Dry RV
- Open vents and windows daily for airflow.
- Run roof vent fans after cooking/showering.
- Place moisture absorbers in closets and bathrooms.
- Check dehumidifier water tank regularly.
- Inspect for and repair any leaks promptly.
- Wipe down condensation from windows and surfaces.
Conclusion
Keeping your camper dry is essential for a healthy and enjoyable travel experience. You’ve learned that a combination of ventilation, moisture absorbers, and active dehumidifiers works best. Don’t forget the power of simple habits like regular inspections and mindful daily routines. By implementing these strategies, you can effectively prevent mold, protect your investment, and ensure your RV stays comfortable. Your next step? Implement one new moisture-fighting habit this week and see the difference it makes.
Frequently Asked Questions
How often should I check my moisture absorbers?
You should check your moisture absorbers at least once a week. This allows you to see if they are full or depleted. Replacing or refilling them promptly ensures they continue to work effectively.
Can I run a dehumidifier while camping off-grid?
Yes, but you need to be mindful of power usage. A small to medium dehumidifier can draw a significant amount of power. Ensure your generator or battery system can support it, or run it only when you have shore power.
Is it better to ventilate or use a dehumidifier when it’s raining?
When it’s raining, ventilation through open windows isn’t ideal. In this scenario, a portable dehumidifier or moisture absorbers are your best bet to control humidity. You can still use exhaust fans when cooking or showering.
What’s the ideal humidity level for an RV?
RV experts suggest keeping your relative humidity below 60%. The ideal range for comfort and preventing mold is typically between 30% and 50%. Monitoring your RV’s humidity can help you make adjustments.
How can I prevent condensation on my camper windows?
Condensation often happens when warm, moist air inside meets cold window surfaces. Increasing ventilation, using a dehumidifier, and ensuring your RV is well-insulated can help reduce window condensation.
