Can I Use a Dehumidifier to Dry Plaster?
Yes, you can absolutely use a dehumidifier to help dry plaster, making the process smoother and more controlled for your home project.
A dehumidifier works by extracting excess moisture from the air, which is vital for achieving a well-cured and durable plaster finish without common issues.
- A dehumidifier is a helpful tool for drying plaster, removing airborne moisture.
- It prevents common issues like cracks, mold growth, and poor adhesion by controlling humidity.
- Use it alongside good ventilation and other drying methods for best results.
- Drying too quickly can harm plaster, so maintain a balanced environment.
- Proper drying ensures a stronger, longer-lasting plaster finish.
Can I Use a Dehumidifier to Dry Plaster?
You’re working on a home renovation, and now the fresh plaster is on the walls. It looks great, right? But the waiting game begins. You might be wondering, “Can I really use a dehumidifier to dry plaster?” The short answer is a resounding yes!
Many homeowners like you turn to dehumidifiers for this exact reason. We found that using a dehumidifier is an excellent way to control the drying environment. It helps remove the moisture that plaster releases into the air.
Why Drying Plaster Correctly Matters So Much
Think of plaster as a delicate cake. It needs to bake just right to be perfect. If it dries too fast, or too slow, you could run into trouble. We often see issues like cracking or crumbling when drying is not managed well.
Proper drying isn’t just about speed; it’s about even and controlled moisture removal. It ensures the plaster cures properly, becoming strong and durable. This means fewer headaches down the road for you.
The Science Behind Plaster Drying
Plaster contains water, which is necessary for the chemical reaction that hardens it. As it hardens, this water evaporates into the air. If the air is already saturated with moisture, it slows down this process considerably.
A dehumidifier steps in to pull this evaporating water out of the air. This makes the air “thirsty” for more moisture. This “thirst” encourages the plaster to release its water content more efficiently, but not too quickly.
Benefits of Using a Dehumidifier for Plaster Drying
Using a dehumidifier offers several advantages. It goes beyond just speeding things up. You’ll likely enjoy a better end result and avoid common pitfalls.
Prevents Mold and Mildew Growth
Plaster, when wet, creates a perfect breeding ground for mold spores. High humidity and damp surfaces are mold’s best friends. Nobody wants fuzzy patches on their newly plastered walls, do they?
A dehumidifier keeps humidity levels in check, making it much harder for mold to get a foothold. We found this is one of the most significant benefits for many users (Environmental Protection Agency).
Reduces Cracking and Shrinkage
Drying plaster too quickly, especially with harsh heat, can cause the surface to dry faster than the core. This often leads to unsightly cracks. It’s like baking bread too hot; the crust forms before the inside is ready.
Dehumidifiers offer a gentler drying process. They remove moisture steadily, allowing the plaster to dry more uniformly. This uniform drying helps minimize stress within the material, reducing the chance of cracks and shrinkage.
Ensures a Stronger Finish
When plaster dries at a controlled pace, its crystalline structure forms correctly. This creates a much stronger, more cohesive bond. A well-cured plaster is less prone to damage and will last longer.
Many experts say that an optimal drying environment contributes to the long-term integrity of the plaster. It gives you a surface that’s ready for paint or wallpaper, and it holds up beautifully.
Faster Overall Drying Time
While we just talked about not drying too quickly, a dehumidifier certainly helps speed things up safely. Stagnant, humid air will keep your plaster wet for ages. A dehumidifier actively removes that barrier.
You will likely find that your plaster dries within the recommended timeframe when using a dehumidifier. This gets you closer to finishing your project sooner without compromising quality.
Setting Up Your Dehumidifier for Plaster Drying
Getting your dehumidifier ready is straightforward. A few simple steps ensure you get the most out of it.
Here’s a quick checklist:
- Choose the right size dehumidifier for your room.
- Place it in the center of the room, if possible.
- Close windows and doors to keep humidity out.
- Set the humidity level (often around 50-60% RH).
- Ensure the drainage hose or collection tank is managed.
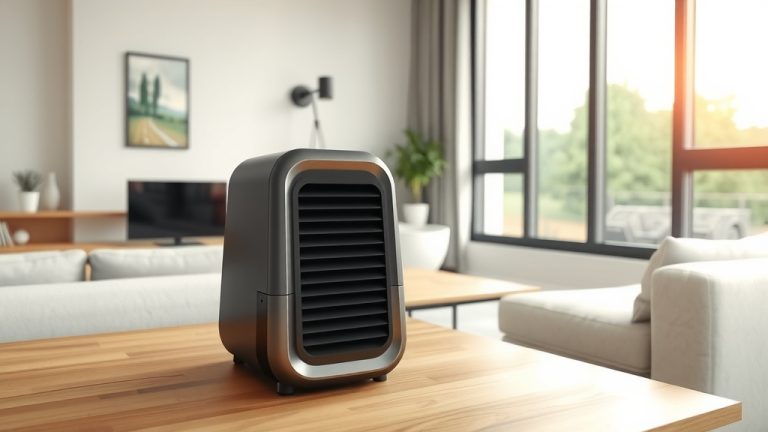
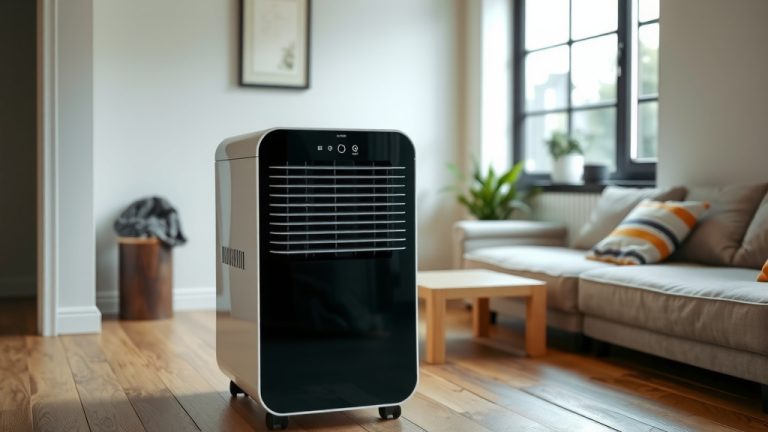
Choosing the Right Dehumidifier
Size matters here. For a small room, a compact unit might suffice. Larger spaces need a more powerful industrial-grade dehumidifier. We always recommend checking the unit’s pint capacity per day.
Match the capacity to your room size for efficiency. You want a unit that can effectively handle the amount of moisture released by the plaster.
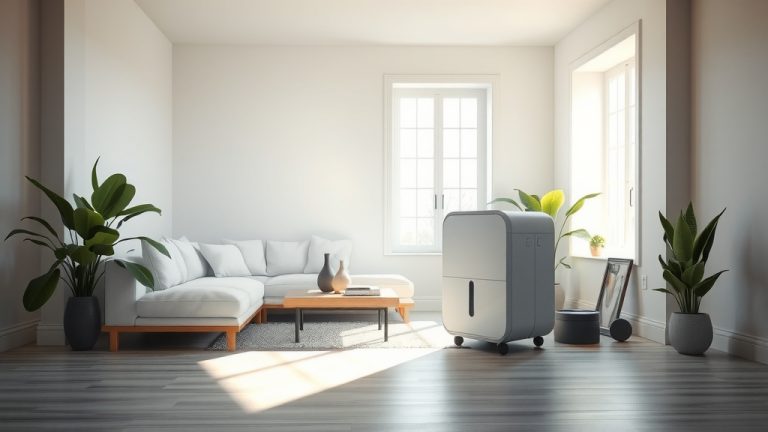
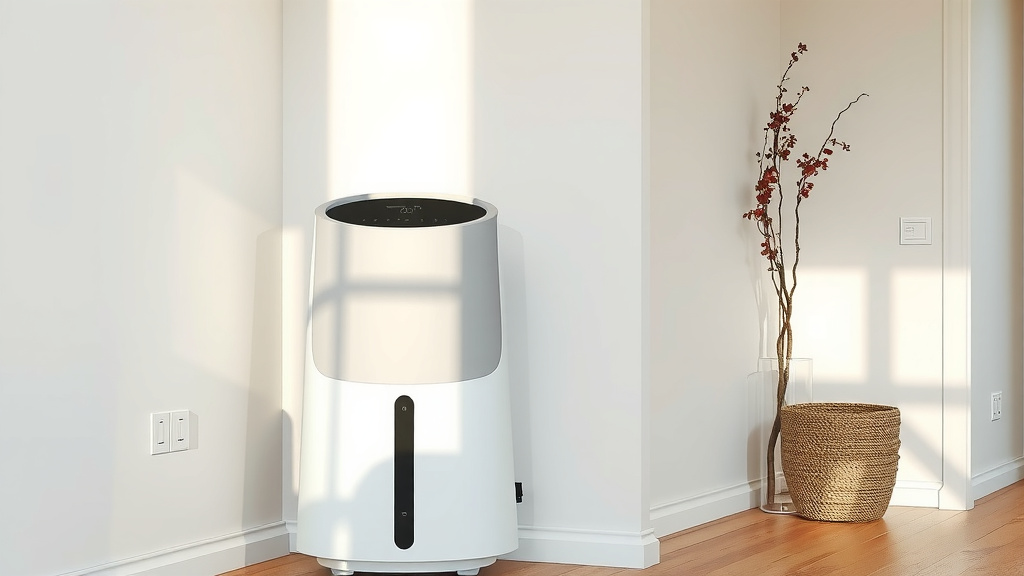
Optimal Placement and Settings
Place the dehumidifier in the center of the room if you can. This allows it to draw moisture evenly from all areas. If that’s not possible, pick a spot where it has good airflow around it.
Most experts suggest setting your dehumidifier to a target humidity level between 50% and 60% relative humidity (RH). This range provides effective drying without making the air too dry too quickly (ASHRAE guidelines).
Monitoring and Drainage
Keep an eye on the water collection tank. Plaster releases a lot of moisture, so you might be surprised how quickly it fills up. Consider using a continuous drainage option if your unit has one.
A hose running to a drain saves you from constant emptying. This is especially helpful if you’re drying a large area or working on multiple rooms.
Combining Dehumidifiers with Other Drying Methods
While a dehumidifier is a superstar, it often works best as part of a team. Think of it as a coordinated effort to dry your plaster perfectly.
| Method | Role in Plaster Drying | Things to Consider |
|---|---|---|
| Dehumidifier | Extracts airborne moisture, prevents mold. | Needs continuous operation, proper sizing. |
| Ventilation (Fans) | Circulates air, helps evaporate surface moisture. | Works best with fresh air, avoid direct drafts. |
| Heaters | Raises air temperature, increases evaporation. | Can dry too fast, causing cracks; use moderately. |
| Natural Airflow | Opens windows/doors to allow air exchange. | Weather dependent, may bring in outdoor humidity. |
Adding Air Circulation with Fans
Simple oscillating fans can really help. They move the air around the room, preventing pockets of stagnant, humid air. This circulation helps the moisture released by the plaster reach your dehumidifier more easily.
Just remember not to blast air directly onto the wet plaster. A gentle, indirect airflow is what you’re aiming for to encourage even drying.
Using Heaters Cautiously
A little warmth can help speed up evaporation, that’s true. However, be very careful with heaters. Too much heat can dry the plaster surface too quickly, potentially leading to cracks or a weaker finish.
If you use a heater, keep it on a low setting and ensure it creates a gentle ambient warmth, not intense direct heat. Always combine it with a dehumidifier and ventilation for balance.
Signs Your Plaster Is Drying Correctly
How do you know if your plaster is drying well? You’ll see visual cues and feel differences in the air. Pay attention to these indicators.
Visual Changes in Plaster Color
Wet plaster often looks darker and has a duller appearance. As it dries, you’ll notice it gradually becoming lighter and more uniform in color. This change should happen evenly across the entire surface.
Patches of darker areas can indicate slower drying or areas with more moisture. This is where your dehumidifier can focus its efforts.
Absence of Dampness and Odor
Run your hand lightly over the dried areas. It should feel dry to the touch, not cool or damp. The air in the room should also feel less humid. A musty smell is a big warning sign of excessive moisture.
A properly drying room will have a neutral or slightly “plastery” smell, not the heavy, damp odor of a wet environment. This signals your dehumidifier is working.
Checking the Manufacturer’s Guidelines
Always check the specific plaster product’s instructions. Manufacturers often provide recommended drying times and conditions. This is the best guide for your specific material.
These guidelines are based on research and testing. They help ensure you get the best possible outcome for your plastered surfaces.
Conclusion
Using a dehumidifier to dry plaster is a smart and effective strategy. It helps you achieve a high-quality, durable finish by controlling humidity and preventing issues like cracks and mold. Remember, patience and a balanced approach with proper ventilation and monitoring are key to success. Your dehumidifier is a powerful ally in your home improvement journey, helping your plaster dry perfectly for years of enjoyment.
How long does it take for plaster to dry with a dehumidifier?
Drying time varies based on plaster thickness, room humidity, and dehumidifier power. With a dehumidifier, plaster can dry significantly faster, often reducing drying time from weeks to just a few days or a week, depending on conditions. Always follow the plaster manufacturer’s specific guidelines.
Can I leave a dehumidifier on overnight while plaster dries?
Yes, you can leave a dehumidifier on overnight. It’s often recommended for continuous operation to maintain consistent humidity control. Just ensure safe placement, check the collection tank regularly if not using continuous drainage, and ensure proper electrical setup.
Is it possible to dry plaster too quickly?
Yes, drying plaster too quickly can cause problems. Rapid drying, especially with intense heat, can lead to surface cracks, poor adhesion, and a weaker overall finish. A dehumidifier helps prevent this by removing moisture steadily and gently, promoting even drying.
Should I open windows while using a dehumidifier to dry plaster?
Generally, it’s best to keep windows and doors closed while running a dehumidifier. Opening them allows humid outdoor air to enter, making the dehumidifier work harder and less efficiently. However, brief periods of ventilation before starting the dehumidifier can be beneficial.
What humidity level should I aim for when drying plaster?
For optimal plaster drying, aim for a relative humidity (RH) level between 50% and 60%. This range effectively pulls moisture from the plaster without drying it too rapidly. Most dehumidifiers allow you to set a target humidity level for precise control.