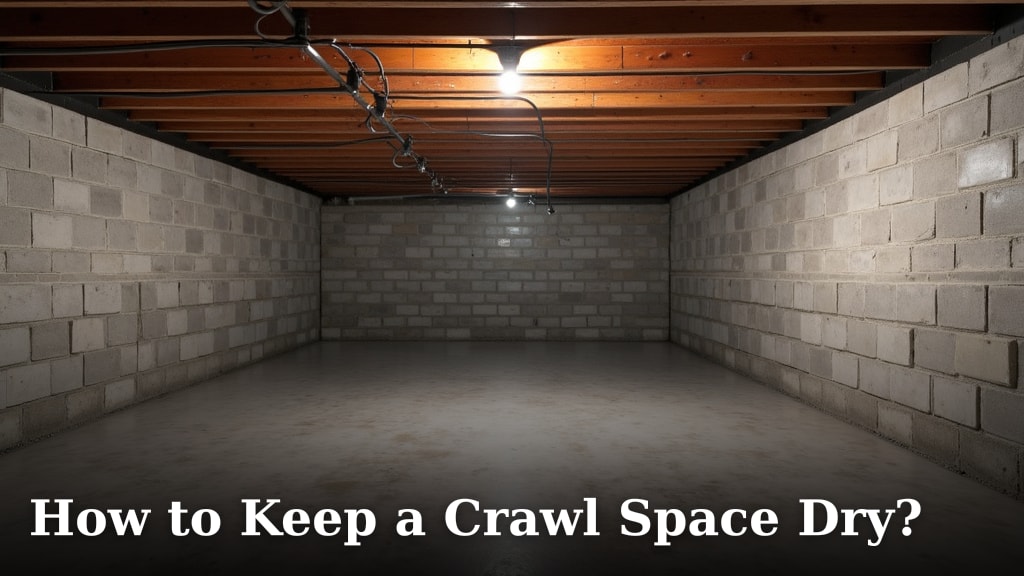
How to Keep a Crawl Space Dry?
The easiest way to keep a crawl space dry is to control moisture from the outside. You should manage exterior drainage, seal foundation cracks, and add a vapor barrier. These steps stop water before it ever enters your home’s crawl space.
A wet crawl space can lead to serious problems for your home. You might see mold growth, structural damage, and even pest infestations. We found that addressing moisture quickly helps you avoid costly repairs later on.
- Control water outside your home
- Seal up any cracks in the foundation
- Install a thick vapor barrier
- Use a dehumidifier for extra help
- Improve air flow in the crawl space
Let’s walk through exactly how to tackle each of these steps and keep your crawl space dry for good.
Strategies for a Dry Crawl Space
Keeping your crawl space dry is all about controlling moisture. We found that the best approach involves several layers of protection. You want to stop water from getting in and then manage any moisture that remains.
Control Water Outside Your Home
The first line of defense is always outside your home. If water never reaches your foundation, it can’t get into your crawl space. This seems obvious, right? But many people overlook these critical first steps.
Manage Your Gutters and Downspouts
Your gutters are designed to collect rainwater from your roof. Downspouts then direct that water away. But if they’re clogged or too short, they can dump water right next to your foundation. This is a common source of crawl space dampness.
- Clean gutters regularly, especially in fall and spring. Remove leaves, twigs, and other debris.
- Extend downspouts at least 5-10 feet away from your foundation. You can buy simple extensions at any hardware store.
- Ensure proper slope for downspout extensions. Water needs to flow away, not pool next to the house.
We found that poorly maintained gutters are a top cause of foundation issues (Environmental Protection Agency).
Grade Your Landscape Away from the Foundation
The ground around your home should slope away from the foundation. This directs surface water away. If the ground slopes towards your house, water will naturally drain into your crawl space.
You want a minimum slope of 6 inches for the first 10 feet. This creates a gentle hill for water to run down. You might need to add soil to achieve this. Be sure not to cover your siding or create new problems by burying wood components.
Install a French Drain System
For persistent water problems, a French drain can be a good solution. This is a trench filled with gravel and a perforated pipe. It collects groundwater and surface water, directing it away from your foundation.
This is a more involved project, often requiring professional help. But it can be very effective in areas with heavy rainfall or high water tables. Think of it as a hidden underground river diverting water away from your home.
Seal Your Foundation
Once you’ve managed exterior water, it’s time to focus on your foundation. Cracks and openings in your foundation are direct pathways for moisture to enter. Even small cracks can let in a surprising amount of water over time.
Inspect for Cracks and Gaps
Take a flashlight and carefully inspect your crawl space walls. Look for any visible cracks, no matter how small. Check where different materials meet, like where the foundation wall meets the sill plate (the wood resting on the foundation).
Also, look for gaps around pipes, wires, or vents that pass through the foundation. These are often overlooked entry points for water and pests.
Seal Cracks and Openings
Once you find cracks, you need to seal them. For smaller, non-structural cracks, you can use a polyurethane caulk. This material is flexible and waterproof. For larger cracks, you might need a hydraulic cement, which expands as it dries to create a tight seal.
Gaps around utility penetrations can be sealed with expanding foam sealant. Just be careful not to use foam where it might interfere with pipes or electrical components. Always follow manufacturer instructions for these products.
Many experts say sealing these entry points is crucial for both moisture control and pest prevention (National Pest Management Association).
Install a Vapor Barrier
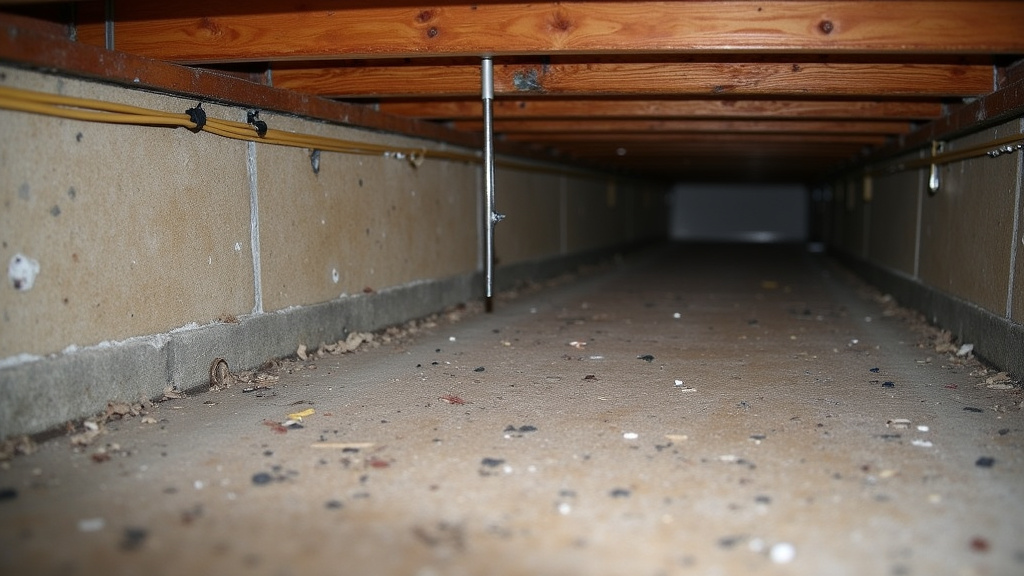
A vapor barrier is a key component for keeping your crawl space dry. It’s a heavy-duty plastic sheet that covers the ground. This barrier prevents moisture from the soil from evaporating and rising into your crawl space air.
Choose the Right Material
Not all plastic sheets are created equal. You want a thick, durable vapor barrier. We recommend at least a 6-mil polyethylene sheet. Many professionals use 10-mil or even 20-mil material for maximum protection and durability.
The thicker the material, the more resistant it will be to tears and punctures. It also provides a better long-term barrier against moisture. Think of it like a heavy-duty raincoat for the ground under your home.
Proper Installation Techniques
Installing a vapor barrier isn’t just about throwing down plastic. It needs to be done correctly to be effective. Here’s how:
- Clear the area: Remove any debris, rocks, or sharp objects from the crawl space floor. You want a smooth surface.
- Overlap seams: When laying multiple sheets, overlap them by at least 6-12 inches.
- Seal the seams: Use vapor barrier tape to seal all overlaps and any punctures. This creates a continuous barrier.
- Extend up walls: Run the vapor barrier up the foundation walls by at least 6 inches, attaching it with appropriate fasteners and sealant.
This creates a kind of “liner” for your crawl space. It traps soil moisture below the plastic, preventing it from reaching the air above.
Improve Air Circulation
Even with exterior controls and a vapor barrier, some moisture can still enter your crawl space. Good air circulation helps remove this lingering humidity. Stagnant, humid air is a breeding ground for mold.
Ventilation Strategies
Many older homes have open crawl space vents. The idea was to dry out the crawl space with outside air. However, in humid climates, these vents can actually bring in more moisture. Warm, humid air hitting cooler crawl space surfaces can cause condensation.
We found that in most humid climates, sealing crawl space vents is more effective than leaving them open (Department of Energy). This creates a “conditioned” crawl space environment.
Consider a Crawl Space Dehumidifier
If you’ve sealed your crawl space and it still feels damp, a dehumidifier is a great solution. These appliances remove excess moisture from the air. This significantly lowers humidity levels, making it harder for mold to grow.
Choose a dehumidifier designed for crawl spaces. These are typically more robust and have a higher capacity. Look for models with an automatic drain feature. This means you don’t have to manually empty a water bucket.
Here’s a quick comparison of common crawl space strategies:
| Strategy | Purpose | Effectiveness | Difficulty |
|---|---|---|---|
| Exterior Drainage | Stops water from reaching foundation | High | Low to Medium |
| Foundation Sealing | Blocks water entry points | High | Medium |
| Vapor Barrier | Prevents soil moisture from evaporating | Very High | Medium |
| Sealed Vents | Reduces outside humidity intrusion | High (in humid climates) | Medium |
| Dehumidifier | Actively removes airborne moisture | Very High | Low (after installation) |
Regular Maintenance Checklist
Keeping a crawl space dry isn’t a one-time fix. It requires ongoing attention. Think of it like taking care of your car; you don’t just change the oil once and forget about it. Regular checks can catch small problems before they become big ones.
- Inspect gutters and downspouts quarterly, especially after heavy storms.
- Check foundation for new cracks or signs of moisture twice a year.
- Look for tears or damage to your vapor barrier annually.
- Monitor dehumidifier function and clean filters regularly.
- Walk through your crawl space once a year to spot any unusual dampness or odors.
By following these steps, you create a robust defense against crawl space moisture. You’re not just fixing a problem; you’re protecting your entire home. A dry crawl space means a healthier home environment for everyone.
Conclusion
Protecting your crawl space from moisture is a vital step in maintaining a healthy home. By consistently managing exterior drainage, sealing your foundation, and installing a robust vapor barrier, you create a powerful defense. We’ve seen that these efforts prevent costly damage and promote better indoor air quality for you and your family.
Don’t let a damp crawl space become a bigger problem. Take these steps to secure your home’s foundation and enjoy a drier, healthier living environment starting today.
Frequently Asked Questions
How often should I inspect my crawl space for moisture issues?
We recommend inspecting your crawl space at least twice a year, ideally in spring and fall. Also check after any heavy rain or significant weather events. This helps you catch potential problems early.
Can a wet crawl space affect my home’s air quality?
Yes, absolutely. A damp crawl space can lead to mold and mildew growth, which releases spores into the air. These can then circulate throughout your home, potentially causing respiratory issues or allergies.
Is it possible to dry out a crawl space yourself, or do I need a professional?
Many initial steps, like cleaning gutters or sealing small cracks, are good DIY projects. However, for persistent issues, extensive water damage, or installing complex systems like French drains, hiring a professional is often the best choice.
What are the signs of excessive moisture in my crawl space?
Look for musty odors, visible mold growth on wood or insulation, condensation on pipes, rotting wood, or standing water. High humidity levels and pest infestations can also be indicators.
Will insulating my crawl space help keep it dry?
Insulation alone won’t dry out a wet crawl space, but it’s important for temperature control once it’s dry. When combined with a good vapor barrier and proper moisture control, insulation helps keep your home more comfortable and energy-efficient.